Many times, we need testing Global employees, doing business globally, so, how to archive global testing is a problem, here, We will show you steps to steps on create a global testing service.
1. Create a VPS
a VPS is a virtual private server, you can treat is as a standalone server or computer with runs on the internet. We will need a VPS to run LAN Exam Maker to service the global customes. There are many VPS provider out there, we should choose a VPS provider supports windows OS, here, we recommend VULTR, https://www.vultr.com/?ref=6955203.
After registered an account and at the dashboard, we click on the Plus button to deploy a new server
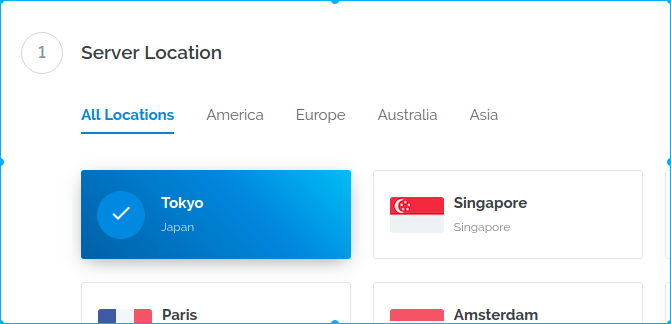
First select a server location, please select a location which is nearest to your customers.
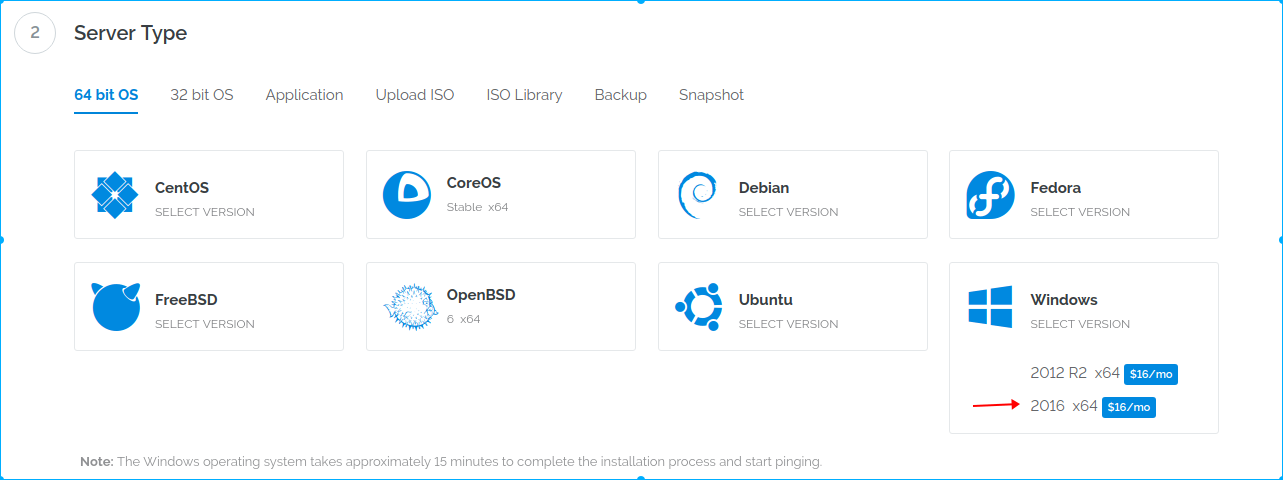
Then choose Windows os, here we choose 2016 x64
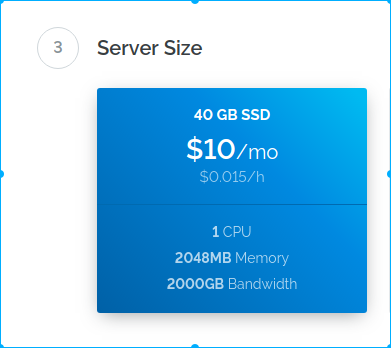
And then choose the server size, there a several aspect you should consider, for example, how many candidates will be online at the same time, the more candidates you have, the large size you should choose. If you have got more then 300 candidates online at the same time, we recommend you choose 4 CPU, 8G memory, currently, in this tutorial, we choose 1CPU and 2GB memory for example.
And then click the deploy server button, your VPS will be installed at few minutes.
2. Install LAN Exam Maker on VPS
After your VPS successfully installed, click the ... button the right of the just created VPS, and click the view Console button to manage your VPS.
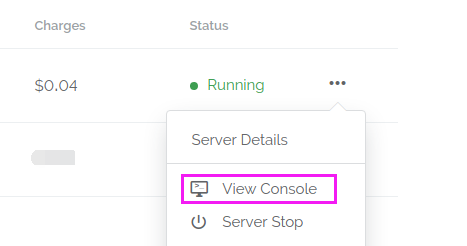
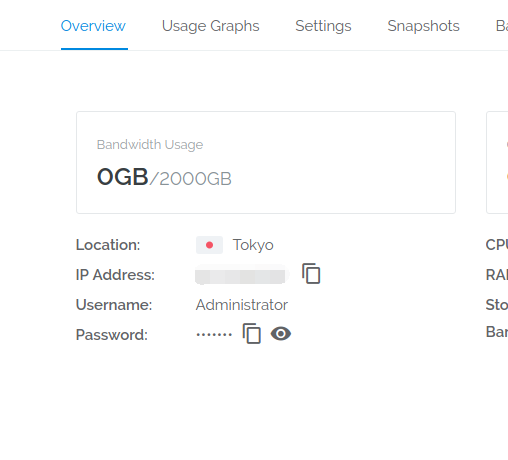
you can go to VPS overview to find your password:
Now, open the internet expoloer to download latest version of LAN Exam Maker at: http://www.smlme.com
When you try to download LAN Exam Maker, the IE may show following dialog, don't afraid, here is the way.
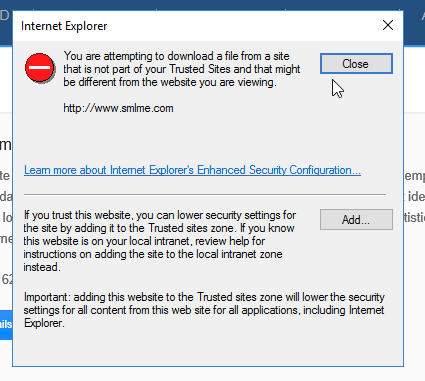
Click the Add button, show
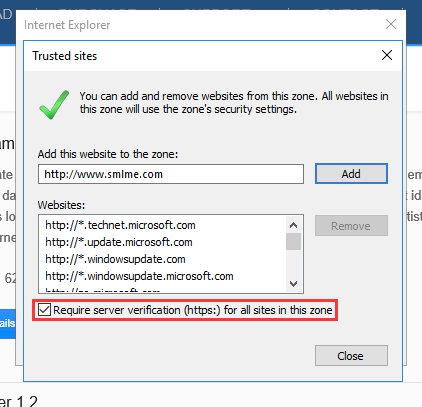
Remove the check of the red box shown, and click the Add button, then try download LAN Exam Makar again,
LAN Exam Maker will successfully download
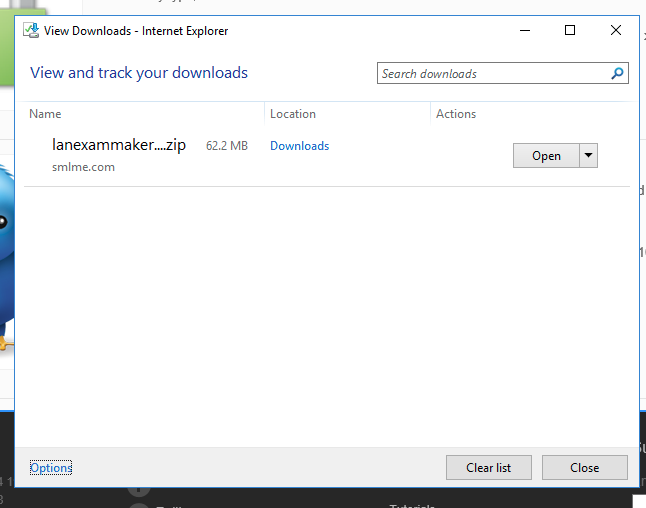
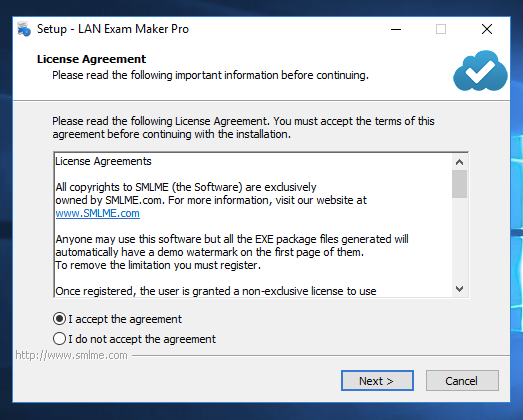
open it and install
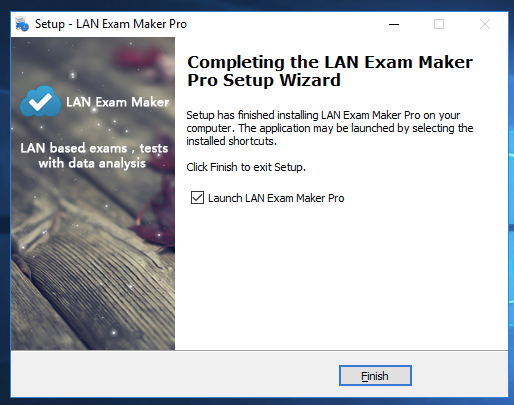
After install, Click the Finish button
Wait for few seconds for the LAN Exam Maker starts the service, you will see this screenshot
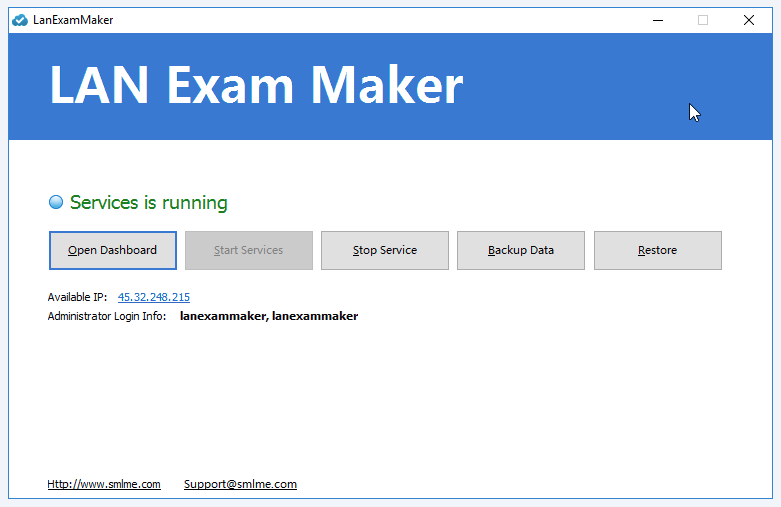
There are few buttons on the window, like Open Dashboard, Stop Service, Backup Data, Restore Data, we will introduce these buttons later, and also, There is a lists of available IP shown, in this tutorial, the IP is 45.32.248.215.
If you service started successfuly, LAN Exam Maker will automatically opend your web browser navigated to the IP.
And also, for the security policy problem of windows server, we should add our IP 45.32.248.215 to the trusted sites.
Open the gear icon on the right corner of IE, navigate to the Trusted Sites, and then click on the sites button
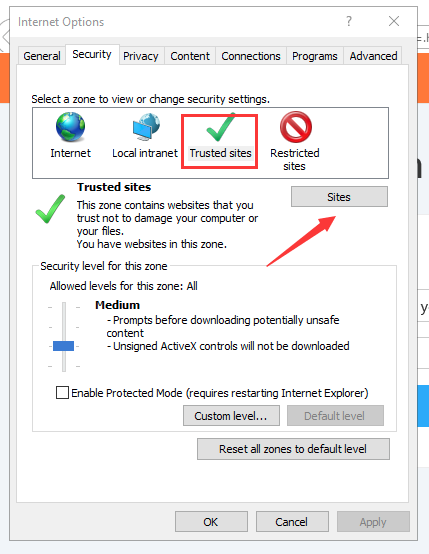
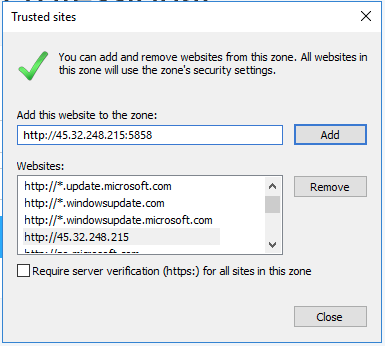
Uncheck the "Require server verification ( https:) for all sites in this zone" and then click the Add button to make our IP trusted.
And then click the Open Dashboard button to go to the dashbaord.
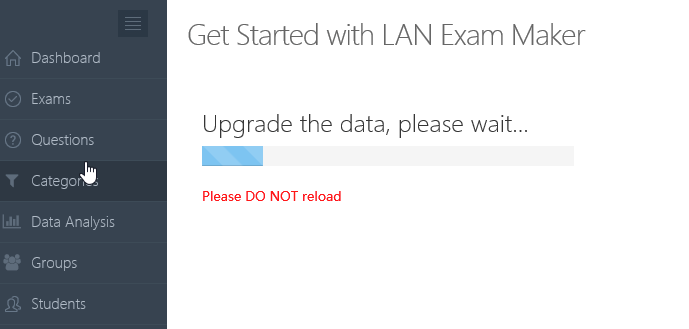
LAN Exam Maker will first upgrade the data, and when finished, will show the first get started guid with a video, you can view it and learn how to get started by create a new exam.
 '
'
3. Create a new test, or exam
Here is a tutorial on how to create a new exam.
4. Share exams QR Code and URL with candidates
we have created a new exam, click the exam title at the exams manage page, will show the QR Code and URL
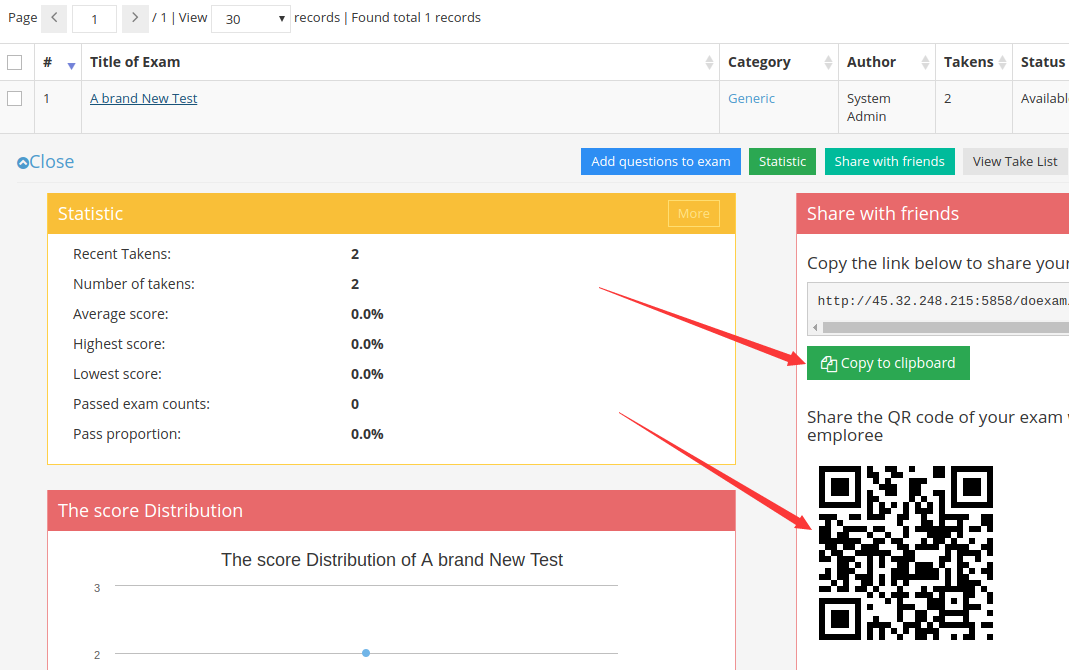
Candidates can Scan QR code on iPhone, Android, for example
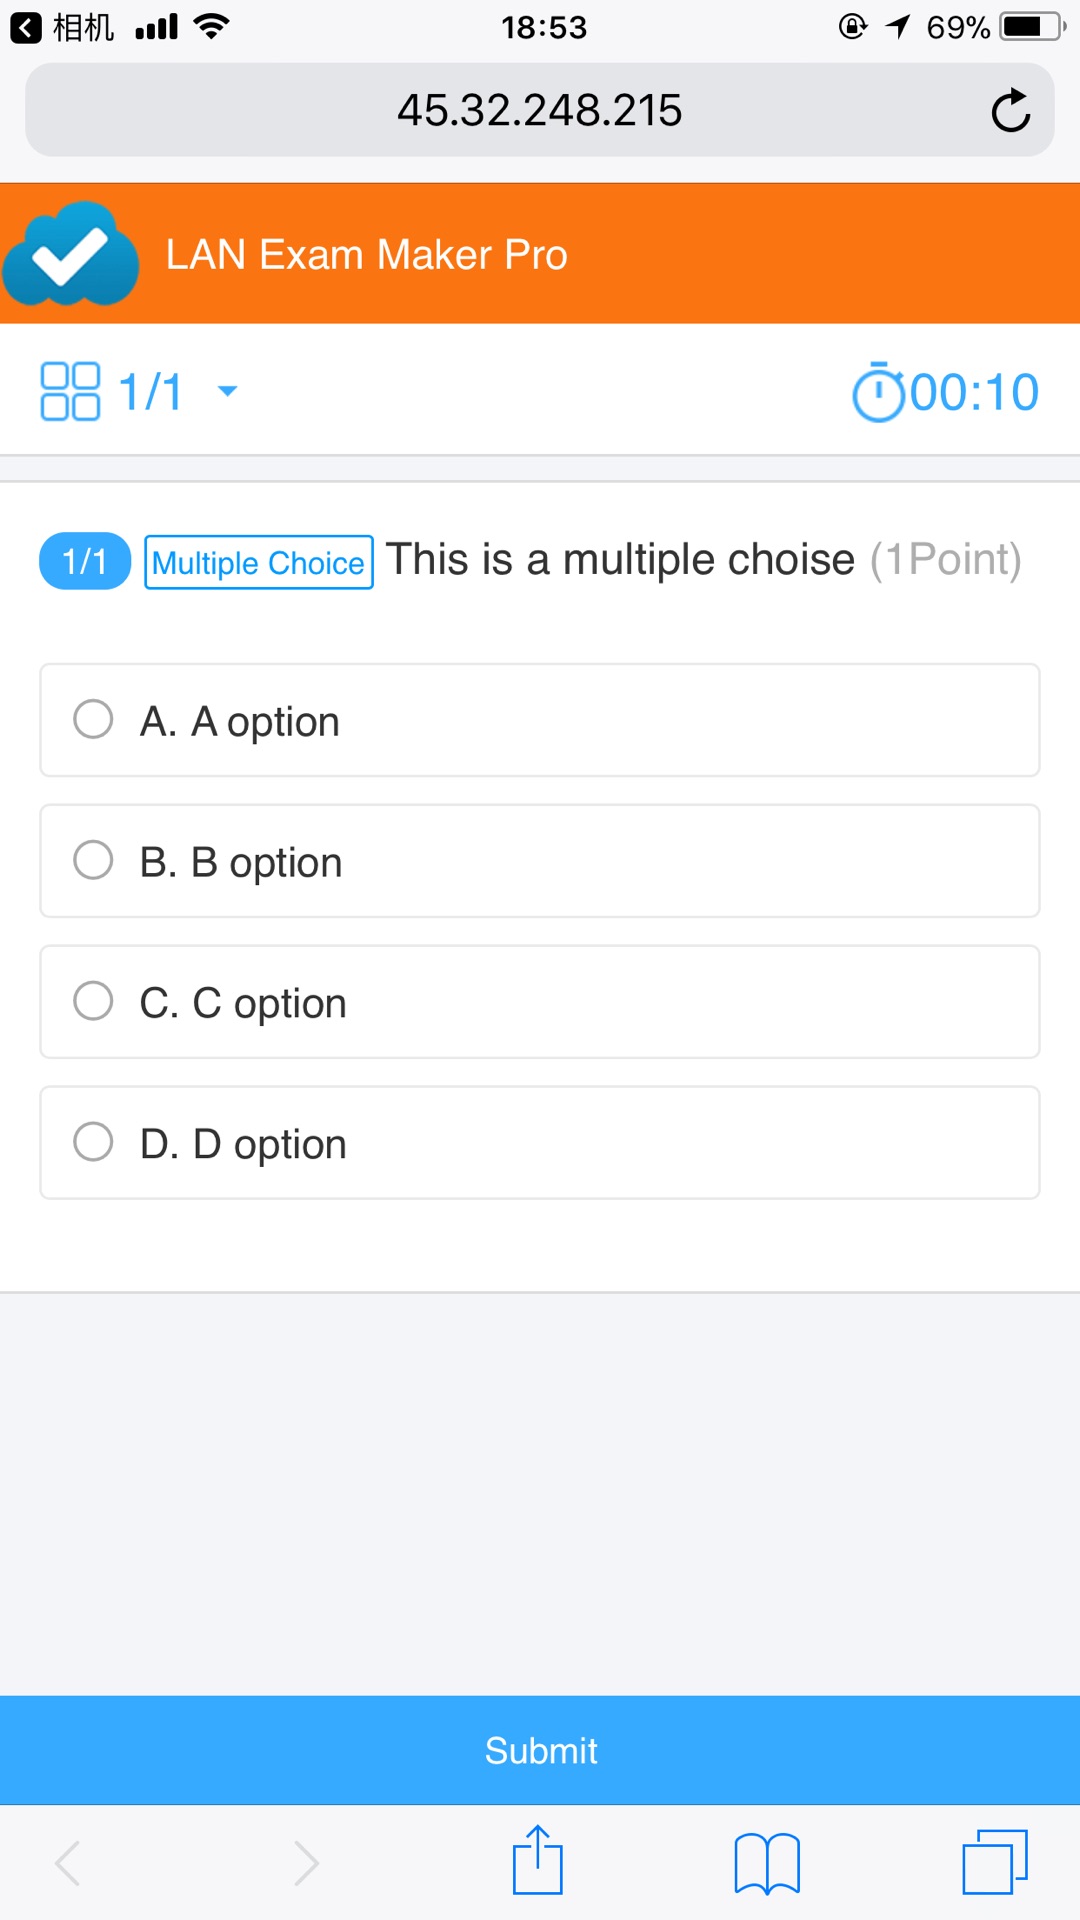
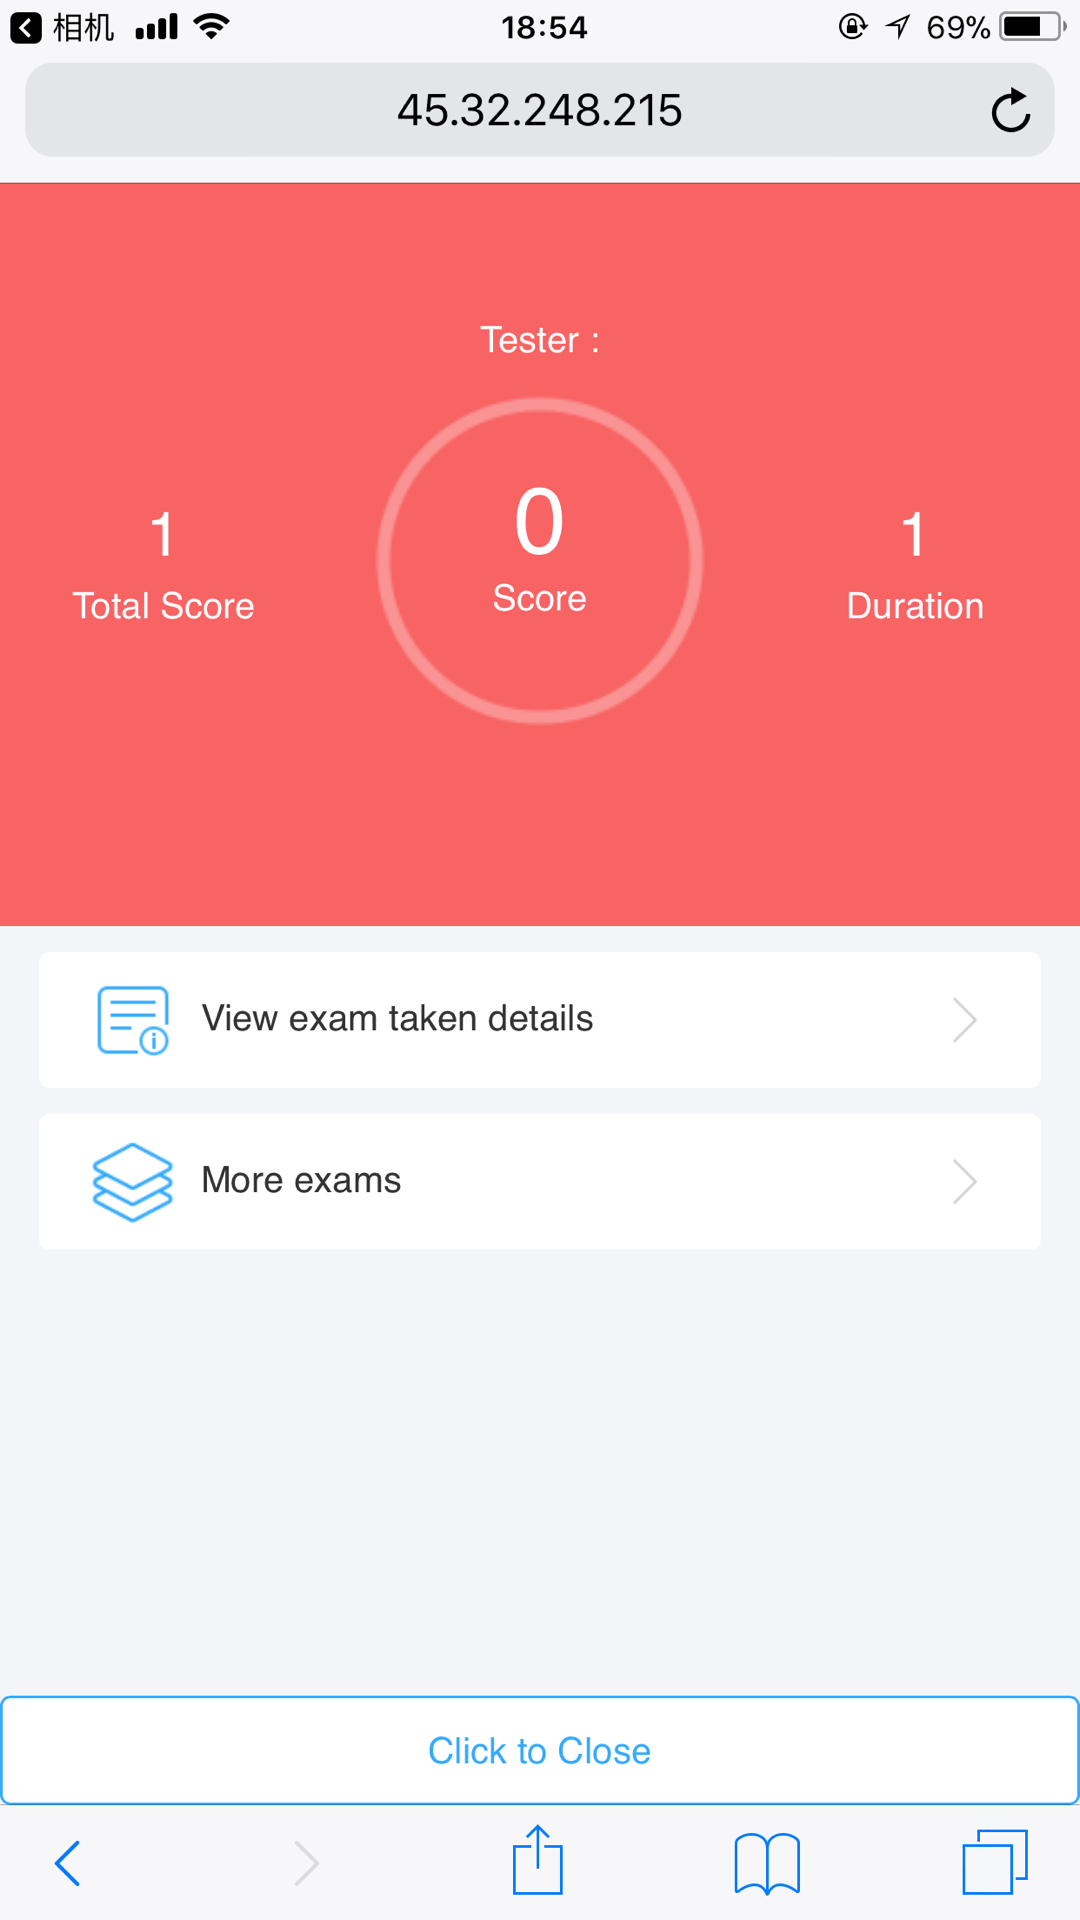
View more Exams
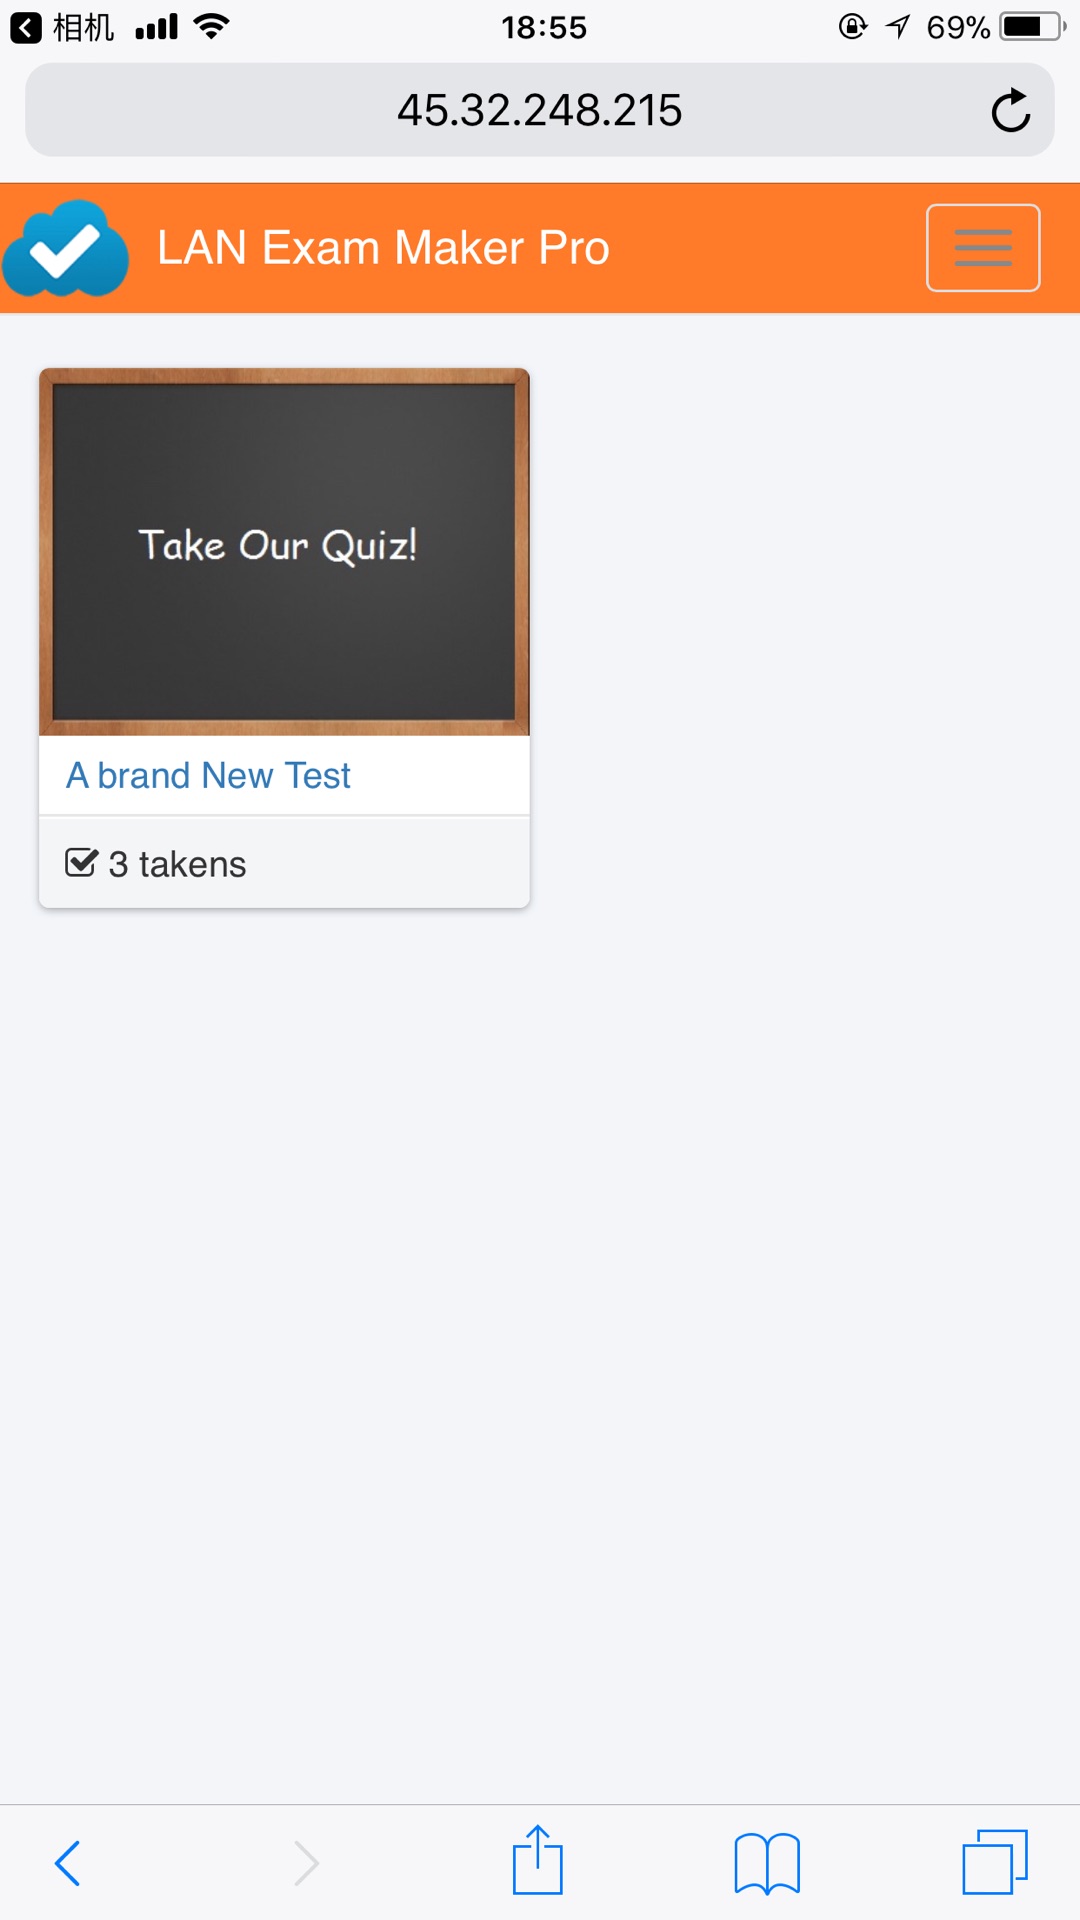
or do it on PC
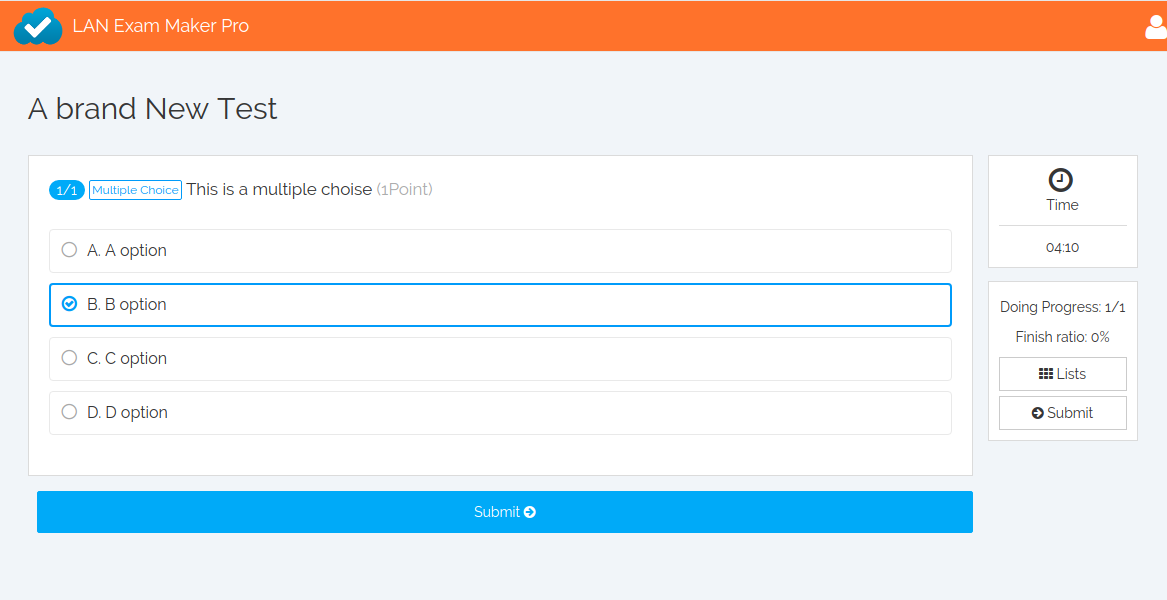
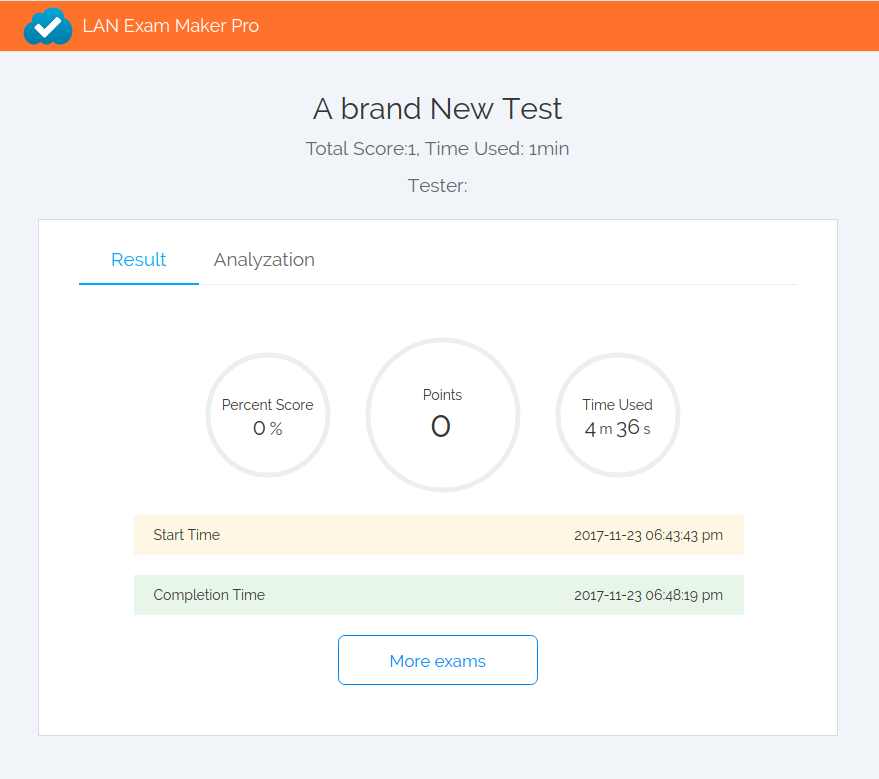
5. View taken result
At the dashboard, go to exams manager, click on the exam title, and click the popuped button: view taken list

to view the taken lists.

Published Date:04:39am, November 23rd, 2017
 How to view statistic information of my exam?


